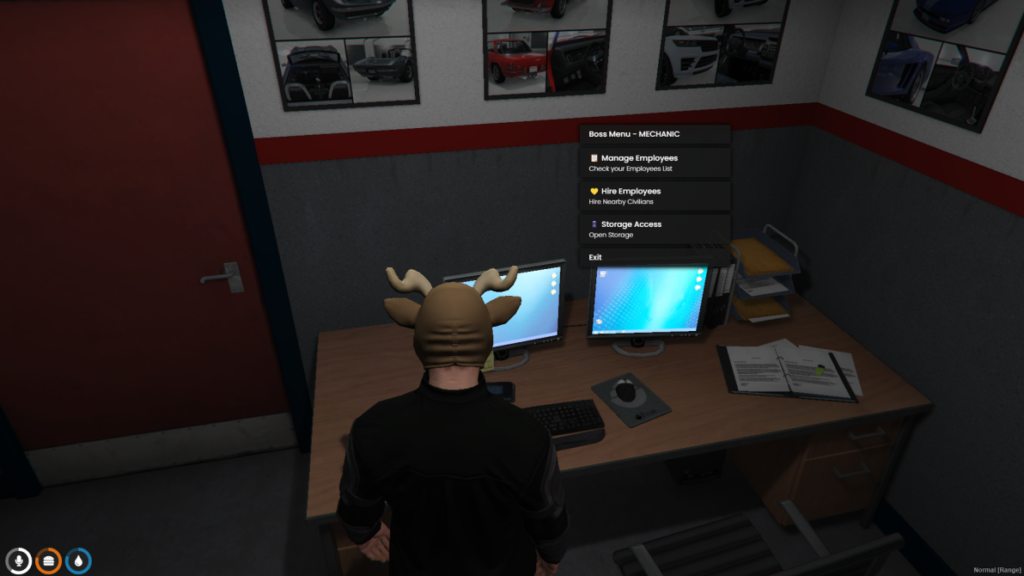
Welcome to this detailed tutorial on how to create a custom job in QBCore, the framework widely used for FiveM roleplay servers. This guide will walk you through the process of adding a new job via shared.lua, setting wages, and configuring job-specific permissions and duties.
Introduction
Creating custom jobs enhances the roleplay experience by providing players with unique roles and responsibilities. Whether you’re introducing a new service, law enforcement division, or any other occupation, this guide will help you integrate it seamlessly into your QBCore server.
Understanding Jobs in QBCore
In QBCore, jobs are defined in a shared configuration file accessible by both the server and client. Each job has attributes like name, label, default duty status, grades (ranks), and more. Understanding these attributes is essential for creating functional and balanced jobs.
Creating a New Job in shared.lua
Locating the shared.lua File
The shared.lua file contains the definitions for all jobs. You can find it in the following directory:
[qb] > qb-core > shared > jobs.lua
Note: In some setups, the file may be named
shared.luawithin theqb-corefolder.
Job Definition Structure
A job in QBCore is defined using a Lua table with specific keys. Here’s the general structure:
["jobname"] = {
    label = "Job Label",
    defaultDuty = false,
    offDutyPay = false,
    grades = {
        [0] = {
            name = "Trainee",
            payment = 50
        },
        [1] = {
            name = "Employee",
            payment = 100
        },
        -- Additional grades...
    }
},
- jobname: Identifier used in scripts (use lowercase without spaces).
- label: Display name of the job.
- defaultDuty:
trueif the player is on duty by default. - offDutyPay:
trueif the player receives payment when off duty. - grades: Table defining different ranks within the job.
Adding Your Custom Job
1. Open jobs.lua or shared.lua
Use a text editor like Visual Studio Code or Notepad++ to open the file.
2. Add Your Job Definition
Insert your job definition within the existing jobs. For example, to create a “Delivery Driver” job:
["delivery"] = {
    label = "Delivery Driver",
    defaultDuty = false,
    offDutyPay = false,
    grades = {
        [0] = {
            name = "Trainee",
            payment = 50
        },
        [1] = {
            name = "Driver",
            payment = 100
        },
        [2] = {
            name = "Senior Driver",
            payment = 150
        },
        [3] = {
            name = "Manager",
            payment = 200,
            isBoss = true
        }
    }
},
- jobname:
"delivery"(used in scripts and database). - label:
"Delivery Driver"(displayed to players). - defaultDuty: Set to
falseso players need to clock in. - offDutyPay: Set to
falseto disable pay when off duty. - grades: Define ranks from 0 upwards.
3. Save the File
After adding your job, save the jobs.lua or shared.lua file.
Setting the Wage
Wages are set within the grades table for each rank. The payment value determines how much a player earns per pay cycle when on duty.
Example
grades = {
    [0] = {
        name = "Trainee",
        payment = 50
    },
    [1] = {
        name = "Driver",
        payment = 100
    },
    -- Additional grades...
}
- payment: The amount paid to players of that grade.
Adjusting Pay Cycles
Pay cycles are typically managed by the qb-paycheck or similar resource. Ensure that the resource is configured correctly to handle pay intervals.
Configuring Job Permissions and Duties
Ranks and Permissions
Each job grade can have specific permissions. The isBoss parameter grants management capabilities like hiring and promoting.
Example
[3] = {
    name = "Manager",
    payment = 200,
    isBoss = true
}
- isBoss: Set to
truefor the highest rank to manage lower ranks.
Adding Job-Specific Functions
To add functionalities specific to your new job (e.g., access to vehicles, uniforms, or tools), you’ll need to configure additional scripts.
1. Create a Job Script
In your resources folder, create a new script for your job:
[jobs] > qb-delivery
2. Define Job Actions
In your job script, you can define actions like starting a delivery mission, accessing a vehicle, etc.
-- Example: delivery_job.lua

RegisterNetEvent('qb-delivery:startJob')
AddEventHandler('qb-delivery:startJob', function()
    local src = source
    local Player = QBCore.Functions.GetPlayer(src)
    if Player.PlayerData.job.name == 'delivery' and Player.PlayerData.job.onduty then
        -- Start delivery mission
    else
        TriggerClientEvent('QBCore:Notify', src, 'You are not a delivery driver or not on duty', 'error')
    end
end)
3. Add Interaction Points
Use resources like qb-target to create interaction points for your job, such as a clock-in station or vehicle garage.
4. Assign Uniforms and Vehicles
Configure job uniforms and vehicles in qb-clothing and qb-garages, respectively.
Testing Your New Job
1. Start the Server
Ensure your server is running without errors.
2. Add the Job to the Database
You’ll need to assign the job to a player to test it.
- Using In-Game Commands:bashCode kopieren
/setjob [playerID] delivery 0 - Direct Database Entry:Update the player’s job in the database if necessary.
3. Verify Job Functionality
- Check Job Assignment:
- Open your player menu to ensure the job is assigned correctly.
- Test On-Duty Status:
- Clock in if
defaultDutyisfalse.
- Clock in if
- Check Wage Payments:
- Wait for a pay cycle to confirm wage payments.
- Test Job-Specific Actions:
- Attempt to access job vehicles or start missions.
Common Issues and Troubleshooting
Job Not Appearing or Assignable
- Check Job Name:Ensure the job name in
jobs.luamatches exactly when assigning it. - Database Sync:If you manually edit the database, make sure to restart the server or resource.
Wages Not Being Paid
- On-Duty Status:Confirm that the player is on duty if
offDutyPayisfalse. - Paycheck Resource:Ensure the paycheck script is running and configured correctly.
Permissions Not Working
- isBoss Parameter:Verify that
isBossis set for the correct grade. - Resource Conflicts:Check for conflicts with other scripts that manage permissions.
Errors on Server Start
- Syntax Errors:Check for missing commas, brackets, or incorrect syntax in
jobs.lua. - Resource Dependencies:Ensure all necessary resources are started in the correct order.
Conclusion
Creating custom jobs in QBCore allows you to expand your server’s roleplay opportunities significantly. By following this guide, you should now be able to add new jobs, set wages, configure permissions, and troubleshoot common issues. Your players will appreciate the new roles and the depth they add to the gameplay experience.
