Setting up a QBCore server for FiveM can offer a high level of customization and an exciting gaming experience for your players. As one of the best FiveM frameworks available, QBCore provides a solid foundation for roleplay servers.
This tutorial will guide you through the steps needed to set up your own QBCore server. For a broader overview before you begin, you might want to check our comprehensive guide to getting started with the QBCore framework.
Table of Contents
Step 1: Requirements
Ensure you have the following prerequisites before starting:
- A VPS (Virtual Private Server) or a dedicated server. You can host yourself or use a provider.
- Admin access (root or sudo privileges) to the server.
- Basic knowledge of working with the Command Line Interface (CLI) – especially if you use Linux! (Unsure about terms? Check the QBCore glossary).
- Installed dependencies like Git, MySQL Server (or MariaDB), and Node.js.
While this guide covers manual setup, using a game server host can simplify the process. We recommend Zaphosting for easy QBCore deployment:
Step 2: Setting up the Server Environment
Connect to your server via SSH and prepare the environment.
- Update System Packages:
- Ensure your operating system (like Ubuntu/Debian) is up to date:
sudo apt-get update && sudo apt-get upgrade -y
- Ensure your operating system (like Ubuntu/Debian) is up to date:
- Install Git:
- Install Git to clone repositories:
sudo apt-get install git -y
- Install Git to clone repositories:
- Install MySQL Server:
- Set up MySQL (or MariaDB, a common alternative) to manage the database:
sudo apt-get install mysql-server -ysudo mysql_secure_installation(Follow prompts to set root password and secure the installation). - Create a new database and user for your QBCore server. Replace
'password'with a strong, unique password:sudo mysql -u root -p
Enter your MySQL root password, then execute these SQL commands:CREATE DATABASE qbcore;CREATE USER 'qbcoreUser'@'localhost' IDENTIFIED BY 'password';GRANT ALL PRIVILEGES ON qbcore.* TO 'qbcoreUser'@'localhost';FLUSH PRIVILEGES;EXIT;
(Having trouble? See our guide on fixing common database sync issues).
- Set up MySQL (or MariaDB, a common alternative) to manage the database:
- Install Node.js:
- Install Node.js (QBCore often uses specific versions, v16.x or later is generally recommended, check QBCore docs for current requirements). This example uses NodeSource for v16.x:
curl -fsSL https://deb.nodesource.com/setup_16.x | sudo -E bash -sudo apt-get install -y nodejs
- Install Node.js (QBCore often uses specific versions, v16.x or later is generally recommended, check QBCore docs for current requirements). This example uses NodeSource for v16.x:
Step 3: Installing FXServer
FXServer is the core FiveM server application. This process is also covered in our general guide on how to create a FiveM server.
- Create Directory and Download FXServer:
- Create a directory for FXServer and navigate into it:
mkdir -p ~/fxservercd ~/fxserver - Download the latest recommended Linux build from the FiveM Artifacts page. Right-click the link for the latest recommended build and copy the link address. Then use
wget:wget
Example (link will change, always get the latest):wget https://runtime.fivem.net/artifacts/fivem/build_proot_linux/master/6184-747f65f09a3160981a4e60ce78ebadda01443c4c/fx.tar.xz - Extract the archive:
tar xf fx.tar.xzrm fx.tar.xz(Optional: remove the archive file)
- Create a directory for FXServer and navigate into it:
- Initial FXServer Run & License Key:
- Run the server once to generate initial files and link your FiveM account:
bash ~/fxserver/run.sh - Follow the on-screen instructions. You’ll likely need to visit a link in your browser, log in to your Cfx.re account, and enter a license key generated from the FiveM Keymaster.
- Once linked, you can usually stop the server (Ctrl+C). A `server.cfg` file and a `server-data` directory should now exist (often inside `~/fxserver/`).
- Run the server once to generate initial files and link your FiveM account:
Step 4: Install QBCore Framework
Now, let’s get the actual QBCore framework files from the official QBCore download sources (typically GitHub).
- Navigate to Resources Folder:
- Go to the `resources` directory within your `server-data` folder (the path might vary slightly based on your setup):
cd ~/fxserver/server-data/resources
- Go to the `resources` directory within your `server-data` folder (the path might vary slightly based on your setup):
- Clone QBCore Repositories:
- You’ll typically need `qb-core` itself and the `[qb]` resource pack provided by the QBCore team. Clone them using Git:
git clone https://github.com/qbcore-framework/qb-core.git qb-coregit clone https://github.com/qbcore-framework/cfx-server-data.git qb-resources
Note: It’s often recommended to clone the `cfx-server-data` into a temporary location and copy the `[qb]` folder from its `resources` directory into your server’s `resources` folder, rather than cloning the whole thing directly. Check the latest QBCore installation documentation for the preferred method.
- You’ll typically need `qb-core` itself and the `[qb]` resource pack provided by the QBCore team. Clone them using Git:
- Install QBCore Dependencies:
- Navigate into the main `qb-core` directory and install its Node.js dependencies:
cd qb-corenpm installcd ..(Go back to the resources directory)
- Navigate into the main `qb-core` directory and install its Node.js dependencies:
- Import SQL Database:
- Locate the `.sql` file provided with QBCore (often within the `qb-core` folder or the server data example). Import it into the database you created earlier:
sudo mysql -u qbcoreUser -p qbcore < /path/to/your/qbcore.sql
(Replace `/path/to/your/qbcore.sql` with the actual path to the SQL file, and enter the `qbcoreUser` password when prompted).
- Locate the `.sql` file provided with QBCore (often within the `qb-core` folder or the server data example). Import it into the database you created earlier:
Step 5: Configuring the Server
Edit your main server configuration file (`server.cfg`, usually located in `~/fxserver/server-data/`) to tell FXServer about QBCore and connect to the database. For detailed tuning, explore our guide on QBCore config optimization.
- Edit `server.cfg`: Use a text editor like `nano`:
nano ~/fxserver/server-data/server.cfg - Database Connection Setup: Add or modify the line for the database connection, using the details you set up in Step 2:
set mysql_connection_string "mysql://qbcoreUser:password@localhost/qbcore?charset=utf8mb4"
(Replace `password` with your actual `qbcoreUser` password). If you encounter issues, double-check credentials and refer to the database troubleshooting guide. - Ensure QBCore Resources: Ensure the `server.cfg` starts the core QBCore resources in the correct order. Add lines like these (the exact list might vary based on the QBCore version and included resources, check their documentation):
ensure qb-core# Add ensures for other [qb] resources here, e.g.:ensure qb-vehicleshopensure qb-weapons# ... and so on - Other Settings: Configure your server name, tags, license key (should already be there), max players, etc., as needed within `server.cfg`.
- Save the file and exit the editor (Ctrl+X, then Y, then Enter in `nano`).
Step 6: Starting the Server
- Start the FXServer:
- Navigate back to your FXServer directory and start the server, explicitly telling it to use your configuration file:
cd ~/fxserverbash ./run.sh +exec server.cfg - Watch the console output for any errors. If it starts successfully, you should see messages indicating resources are loading. If you run into problems, sometimes it helps to clear the server cache (usually a `cache` folder within `server-data`).
- Navigate back to your FXServer directory and start the server, explicitly telling it to use your configuration file:
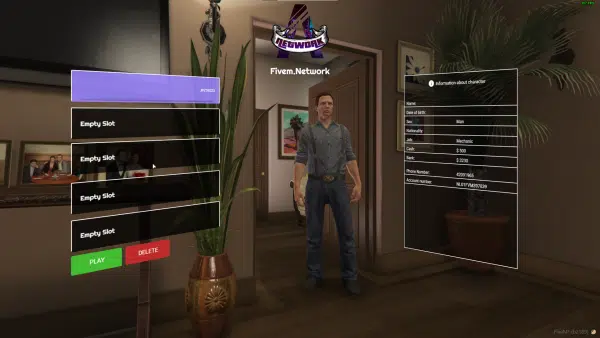
- Accessing the Server:
- Open FiveM on your gaming PC, press F8, and type:
connect your_server_ip:30120(replace `your_server_ip` with the public IP address of your VPS or dedicated server).
- Open FiveM on your gaming PC, press F8, and type:
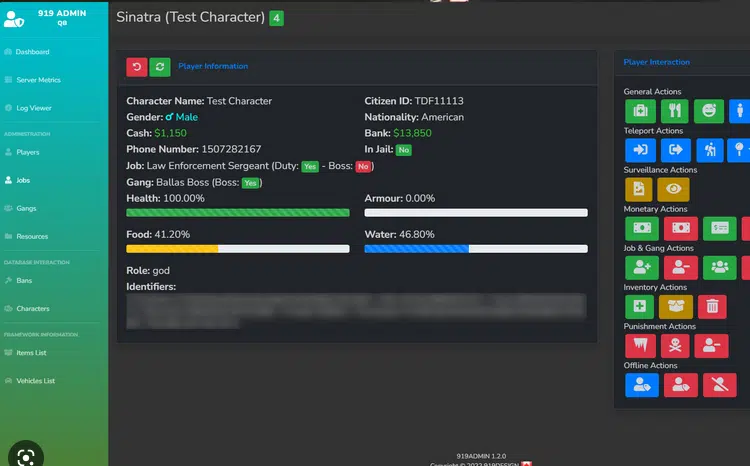
- Done! Your basic QBCore server should now be running. The next crucial step is to become admin and set permissions for yourself.
Add more mods & scripts to your server
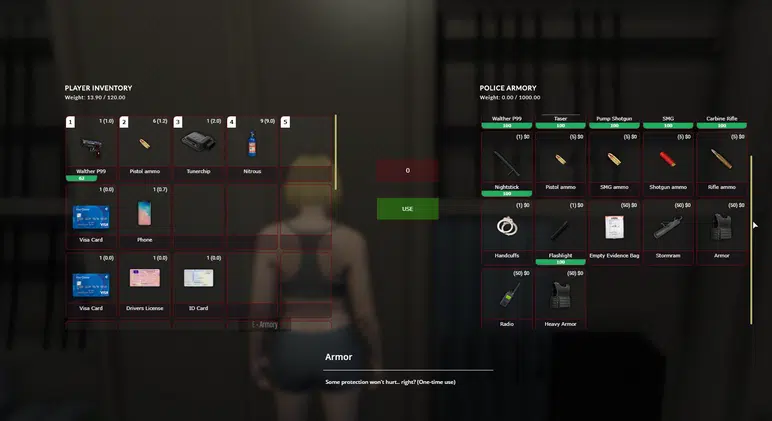
Once your basic server is running, you'll want to add more features. You can find a wide variety of QBCore scripts and QBCore HUDs to enhance gameplay. Here's a simple guide on how to add them:
- Find scripts compatible with your QBCore version. Good places to look include the official QBCore forums, GitHub, and curated lists like the best QBCore scripts.
- Download the script (usually as a ZIP file or Git repository).
- Extract or clone the script folder into your server's `resources` directory (`~/fxserver/server-data/resources/`). Make sure the folder name doesn't contain spaces or special characters.
- Some scripts may require you to run SQL files or install Node.js dependencies (check the script's README file).
- Open your `server.cfg` file (`nano ~/fxserver/server-data/server.cfg`).
- Add a new line like `ensure script_folder_name` (replace `script_folder_name` with the actual name of the folder you added). The order can sometimes matter, especially if scripts depend on each other. Ensure it's placed *after* `ensure qb-core` and any other dependencies the script needs.
- Save the `server.cfg` file.
- Restart your QBCore server (stop it with Ctrl+C in the console, then run `bash ./run.sh +exec server.cfg` again).
- Check the server console for errors and test the script in-game. Remember to keep scripts updated following guides on how to update QBCore scripts.
And that's it! You've added a new script or mod to your QBCore server.
Next steps...?
With your server running, here are some important next steps and further learning resources:
- Admin & Permissions: Master server control by learning how to become admin and set permissions and familiarizing yourself with QBCore admin commands.
- Optimization: Improve performance by learning how to make your QBCore server faster and exploring specific optimization techniques for higher FPS.
- Security: Protect your server by understanding how to secure your QBCore server against exploits.
- Custom Content: Add depth to your server by learning how to create jobs and how to create items.
- Economy Management: Learn how to manage your QBCore server's economy effectively.
- Scripting Skills: If you're interested in development, find out how to learn FiveM scripting for QBCore.
- General Advice: Check out our collection of best tips for QBCore servers.
This tutorial outlined the fundamental steps to set up a QBCore server. Ensure that you customize the server according to your preferences and continuously update your resources. For more guides, explore our main QBCore tutorials section and the official QBCore documentation.
Easier Rocketlaunch
Feeling overwhelmed by the manual setup? Pre-configured server templates can save you a lot of time and effort, though they offer less granular control initially.

Explore FiveM Server templates here (External Link)
Tips and Best Practices:
- Regularly update your FXServer artifacts, QBCore framework, and all installed resources to benefit from the latest features, bug fixes, and security updates.
- Crucial: Backup your server regularly, especially the database and configuration files.
- Engage with the QBCore and FiveM communities through official forums and Discord servers for support, ideas, and updates.
- Consult the QBCore glossary if you encounter unfamiliar terms.
By following these steps and best practices, you'll set up an efficient and customizable QBCore server, ready to provide an immersive experience for your players. Happy server management!
Need help?
If you encounter issues during setup or need further assistance: