Setting up your own QBCore server for FiveM can offer significant flexibility and control over the features, customizations, and scripts you want to implement. In this guide, we will walk you through the complete process of self-hosting a QBCore server, from setting up your environment to running your server with custom scripts and resources. By the end of this tutorial, you will have a fully functioning QBCore server that you can manage and customize.
Table of Contents
. Prerequisites
Before you get started, it’s important to understand what you’ll need in terms of hardware and software. Self-hosting a QBCore server requires a bit of technical know-how, but don’t worry—we’ll break it down step-by-step.
System Requirements
- Operating System: Windows 10/11 (64-bit) or Linux (Ubuntu recommended).
- Processor: Intel Core i5 or better.
- RAM: Minimum 8GB (16GB recommended).
- Storage: At least 10GB of free space (SSD recommended for better performance).
- Internet: Reliable connection with at least 10 Mbps upload speed for stable server operation.
Software and Tools Needed
- Visual C++ Redistributable (for Windows).
- FXServer (FiveM Server Software).
- MySQL or MariaDB for database management.
- Git to clone repositories.
- Any preferred text editor, such as Visual Studio Code or Notepad++.
2. Installing the Server on Windows
Step 1: Install Visual C++ Redistributable
Before running FXServer, you need to install the Visual C++ Redistributable for Visual Studio. You can download it directly from the Microsoft website.
- Download the Visual C++ Redistributable.
- Run the installer and follow the prompts to complete the installation.
Step 2: Download and Install FXServer
Next, you’ll need to download the FiveM FXServer files.
- Visit the FiveM FXServer artifacts page and download the latest recommended build.
- Extract the files into a directory, such as
C:\FXServer. - Run
FXServer.exeto start the setup wizard.
Step 3: Configure the Server
The FXServer setup wizard will walk you through initial configuration.
- Choose a folder where the server files will be stored. For example:
C:\FXServer\server-data. - Create a basic server configuration. Choose a server name, configure a license key (you can obtain this from keymaster), and configure other settings as needed.
- Save the configuration and let FXServer finish its setup.
Step 4: Setting Up MySQL Database
To run QBCore, you’ll need a MySQL database to store player data and server-related information.
- Download and install MySQL or MariaDB.
- During the installation, make sure to set a root password and take note of it.
- Use a database management tool like phpMyAdmin or MySQL Workbench to create a database for your QBCore server. Name it something like
qbcore.
3. Installing the Server on Linux
Step 1: Setting up the Environment
For Linux, ensure your server has essential tools installed:
sudo apt update
sudo apt install git screen -y
Step 2: Install FXServer
- Download the FXServer from the FiveM artifacts page.
- Extract the contents into a directory, e.g.,
/home/fivem/server. - Launch the server setup script to configure it.
Step 3: Configuring the Server
- Set up the
server-datadirectory and configure it similar to the Windows setup. - Make sure to set the correct permissions for the server files.
Step 4: Setting Up MySQL Database
Install MySQL:
sudo apt install mysql-server
sudo mysql_secure_installation
Create the database and configure access:
CREATE DATABASE qbcore;
GRANT ALL PRIVILEGES ON qbcore.* TO 'user'@'localhost' IDENTIFIED BY 'password';
FLUSH PRIVILEGES;
4. Installing QBCore Framework
Cloning the QBCore Repository
Now it’s time to install QBCore itself. You can easily clone it from the official GitHub repository.
cd /home/fivem/server-data
git clone https://github.com/fivemxcom/qb-core.git resources/[qb]/qb-core
Installing Dependencies
You will need to install dependencies for QBCore to function properly. You can find a server.cfg template inside the cloned repository. Make sure to edit it with your database details and any other settings.
ensure qb-core
ensure qb-adminmenu
ensure qb-banking
# And any other QBCore resources you want to include
Configuring QBCore for Your Server
You will need to configure the server.cfg file to point to your MySQL database and other relevant settings for your server, such as ports and resource paths.
5. Running the Server for the First Time
Launching FXServer
To launch your server, use the following command:
cd /home/fivem/server
screen -S fivem ./FXServer +exec server.cfg
This command will launch the server in a detached screen session, allowing you to keep it running even after you log out of your terminal.
Connecting to the Server via FiveM Client
- Open FiveM on your PC.
- In the Direct Connect tab, enter your server’s IP address followed by the port (default port is 30120).
- Join the server and verify that everything works.
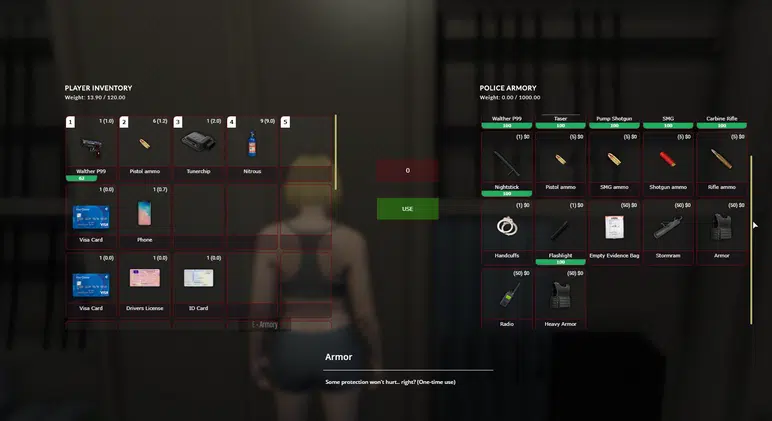
6. Customizing Your QBCore Server
Once your server is running, you can start customizing it by adding scripts, resources, and MLOs.
Adding Custom Scripts
QBCore offers flexibility in integrating custom scripts. Download any QBCore-compatible scripts and place them in the resources folder. Update your server.cfg to include them.
Resource Management
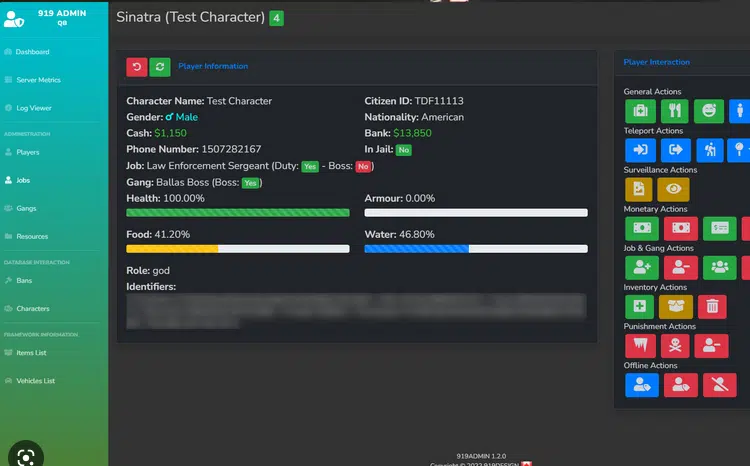
Make sure to monitor the performance and resource usage of your server using tools like txAdmin to ensure smooth gameplay.
MLOs and Map Modifications
To enhance the player experience, you can install custom MLOs (interiors) and maps. Simply download and place the MLOs in the resources folder and configure them in the server.cfg file.
7. Securing Your QBCore Server
To protect your server from potential security threats, follow these best practices:
Firewall Configuration
Ensure your firewall is configured to allow only necessary ports (like 30120) for FiveM, while blocking unnecessary traffic.
Using a VPN for Server Protection
Consider using a VPN or DDoS protection service if you’re running a public server.
8. Advanced QBCore Server Management
Server Backups
Regularly back up your server files and database to prevent data loss in case of crashes or corruption.
Debugging Common Issues
Use the FiveM server logs and the txAdmin console to debug common server issues.
9. Conclusion
Self-hosting a QBCore server provides immense flexibility and control. By following this guide, you’ve set up your own server from scratch, installed QBCore, and learned how to customize it. With these basics, you’re well on your way to creating a thriving FiveM server community!
This guide should provide you with everything you need to successfully host your own QBCore server. If you run into any issues, the FiveM and QBCore communities are great resources for support and troubleshooting.